How to Screenshot on Mac – Capturing screenshots on your Mac can be incredibly useful for a variety of reasons. Whether you want to save an important document, capture a funny meme, or create a tutorial, knowing how to take screenshots is an essential skill. In this article, we will guide you through different methods to screenshot on a Mac, catering to various needs and preferences.
Method 1: Taking a Full-Screen Screenshot – How to Screenshot on Mac
The simplest way to capture your entire screen is by using the built-in screenshot shortcut on your Mac. To do this, follow these steps:
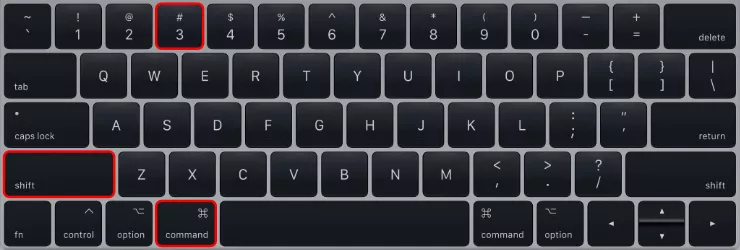
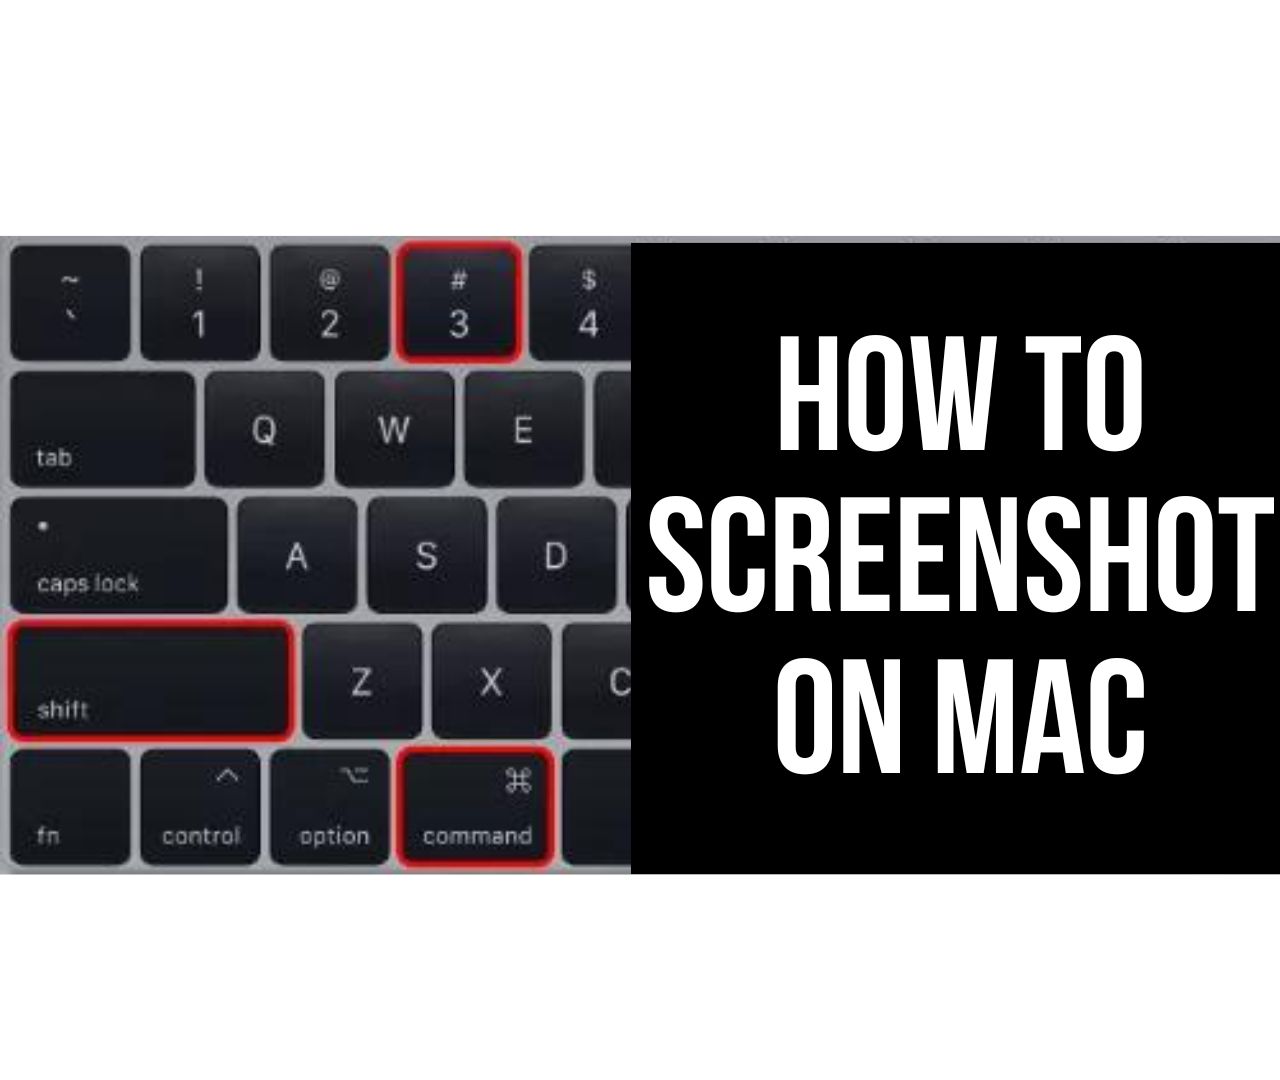
1. Locate the “Command” ⌘, “Shift,” and “3” keys on your keyboard.
2. Press all three keys simultaneously.
3. You will hear a camera shutter sound, indicating that the screenshot has been successfully taken.
4. The screenshot will be saved as a PNG file on your desktop with a filename starting with “Screen Shot” followed by the date and time.
This method is ideal when you want to capture everything displayed on your screen, such as a webpage, application, or desktop arrangement.

Method 2: Capturing a Selected Portion of the Screen – How to Screenshot on Mac
If you only need to capture a specific part of your screen, you can use the following method:
1. Locate the “Command” ⌘, “Shift,” and “4” keys on your keyboard.
2. Press all three keys together.
3. Your cursor will change to a crosshair (+).
4. Click and drag the crosshair to select the desired portion of the screen.
5. Release the mouse button to capture the screenshot.
6. Similar to the previous method, the screenshot will be saved as a PNG file on your desktop.
This method is helpful when you want to focus on a specific area of your screen, such as an image, a paragraph of text, or a specific region of an application window.
Method 3: Taking a Screenshot of an Active Window – How to Screenshot on Mac
If you want to capture just the active window on your Mac, follow these steps:
1. Make sure the desired window is in focus.
2. Locate the “Command” ⌘, “Shift,” and “4” keys on your keyboard.
3. Press the “Spacebar” key while holding down the previous three keys.
4. Your cursor will change to a camera icon.
5. Move the camera icon over the window you want to capture.
6. Click on the window to take the screenshot.
This method is handy when you want to capture a specific window, such as an application, a dialogue box, or a menu.
Method 4: Capturing a Touch Bar Screenshot – How to Screenshot on Mac
If you own a MacBook Pro with a Touch Bar, you can easily capture screenshots of the Touch Bar itself:
1. Locate the “Command” ⌘, “Shift,” and “6” keys on your keyboard.
2. Press all three keys simultaneously.
3. You will hear a camera shutter sound, indicating that the Touch Bar screenshot has been taken.
4. The screenshot will be saved as a PNG file on your desktop , similar to the previous methods.
This method is particularly useful when you want to share information about the Touch Bar’s functionality or showcase specific app controls.
Conclusion
Knowing how to take screenshots on your Mac is an essential skill that can greatly enhance your productivity and communication. In this article, we explored four different methods: taking a full-screen screenshot, capturing a selected portion of the screen, taking a screenshot of an active window, and capturing a Touch Bar screenshot for MacBook Pro users. By mastering these techniques, you can easily capture and save visual information for a wide range of purposes.
Remember, the methods mentioned in this article apply to Mac computers running macOS. If you are using a different operating system or device, the steps may vary. Experiment with these methods and choose the one that best suits your needs. Happy screenshotting!
